In a pervious post I covered how to integrate Aruba VIA with Okta MFA. Since we don’t want the network admins to feel left out, this guide will show you how to integrate Okta with Aruba ClearPass to provide MFA support for Aruba devices with both Radius and TACACS support.
Before you Begin
Go through the Okta radius (on-prem) service configuration guide. If you’ve already deployed Okta for VIA or another app, you can skip step 1 and reuse the existing agent. https://help.okta.com/en/prod/Content/Topics/integrations/getting-started.htm
Steps to Configure Aruba (TACACS) integration with Okta MFA
To configure the Radius application in Okta, complete the following steps:
- Step 1: Install the Okta (on-prem) server agent
- Step 2: Configure Radius application in Okta
- Step 3: Configure ClearPass to proxy TACACS/Radius request to the Okta agent
- Step 4: Configure AOS management authentication profile
- Step 5: Enable MFA in Okta (optional)
Step 1: Install the Okta Radius server agent
- From the Okta portal download the Okta radius server agent
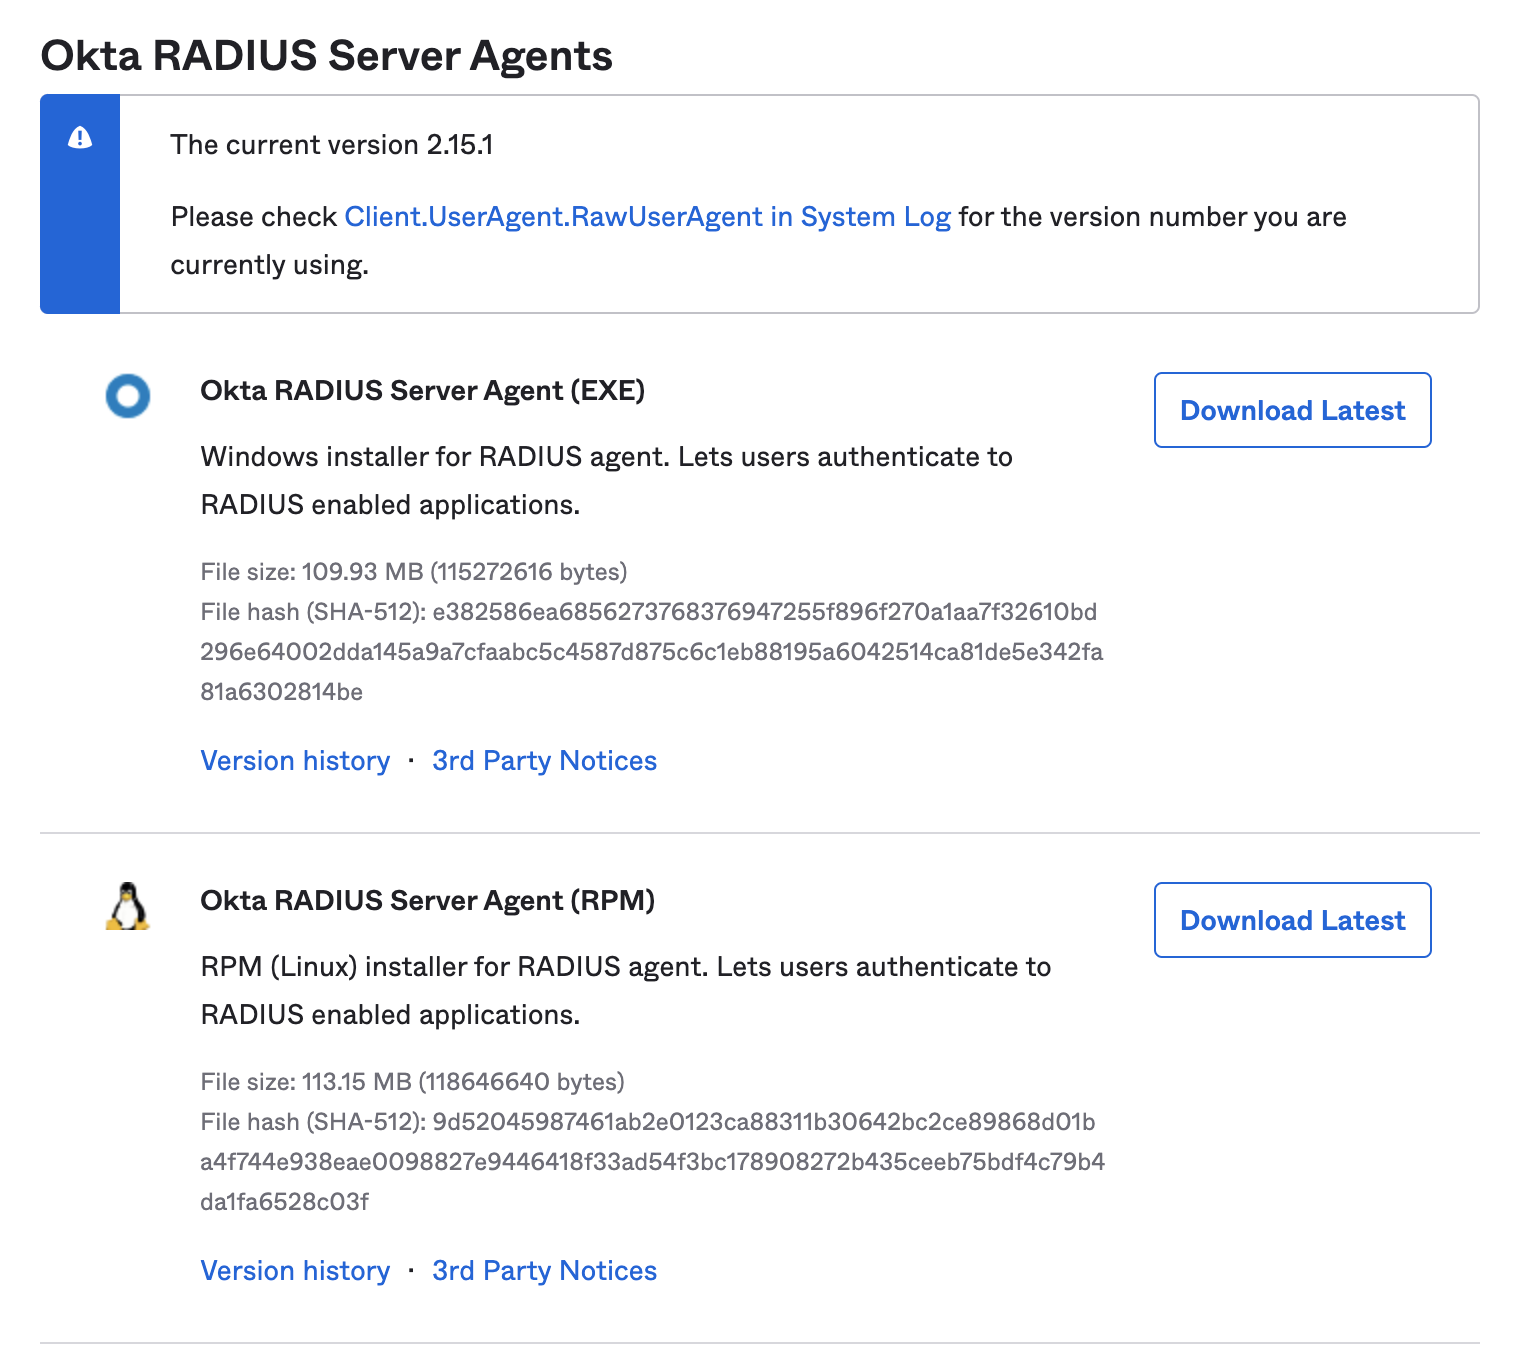
- Install the agent on the server (Cloud or Local)
AWS: https://help.okta.com/en/prod/Content/Topics/integrations/aws-radius-intg-install-radius.htm
Local: https://help.okta.com/en/prod/Content/Topics/integrations/getting-started-overview.htm
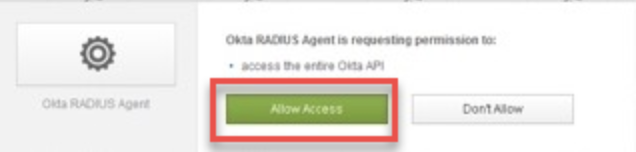
- When prompted follow the URL to Authorize the agent and link to the Okta account
Step 2: Configure Radius application in Okta
- Log in to the Okta administration console.
- Click Applications > Browse App Catalog and search for Radius
- Select Radius Application from the list.
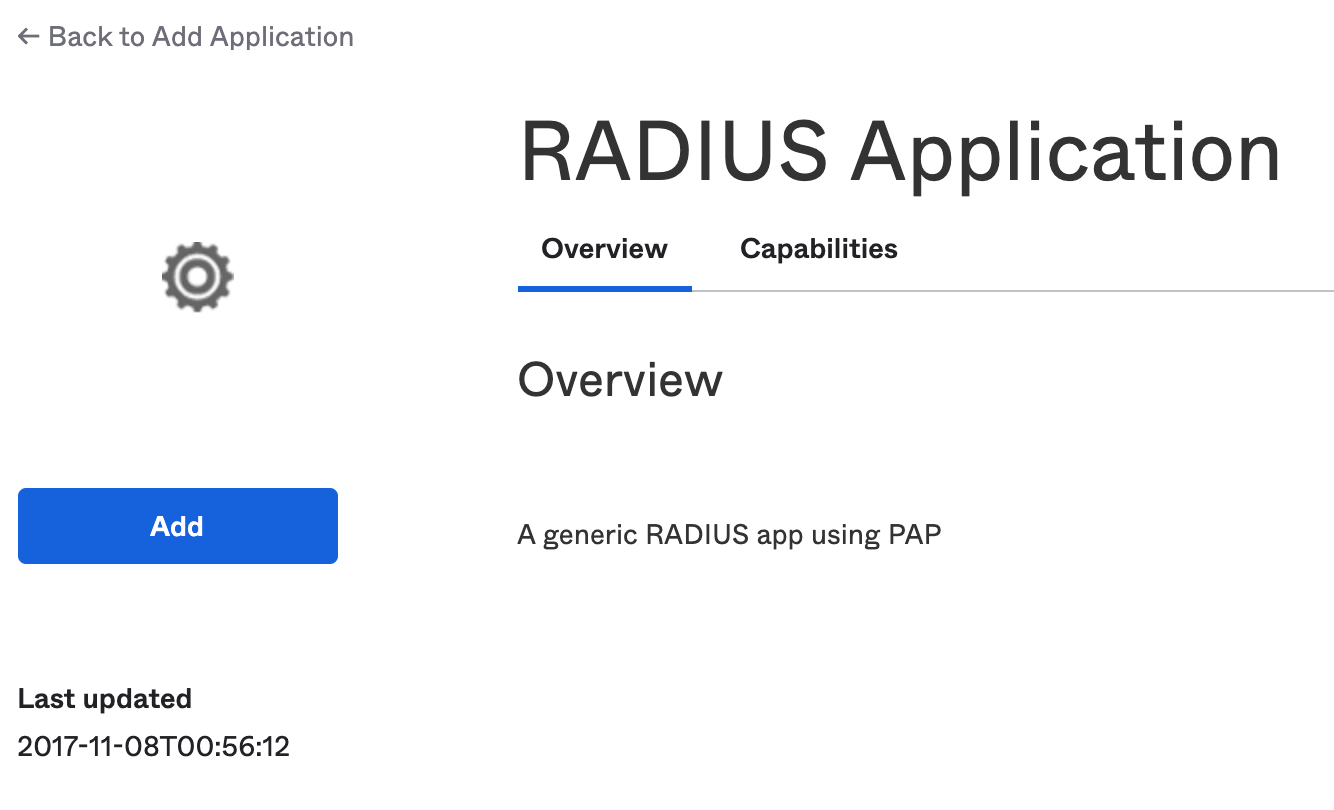
- Click Add
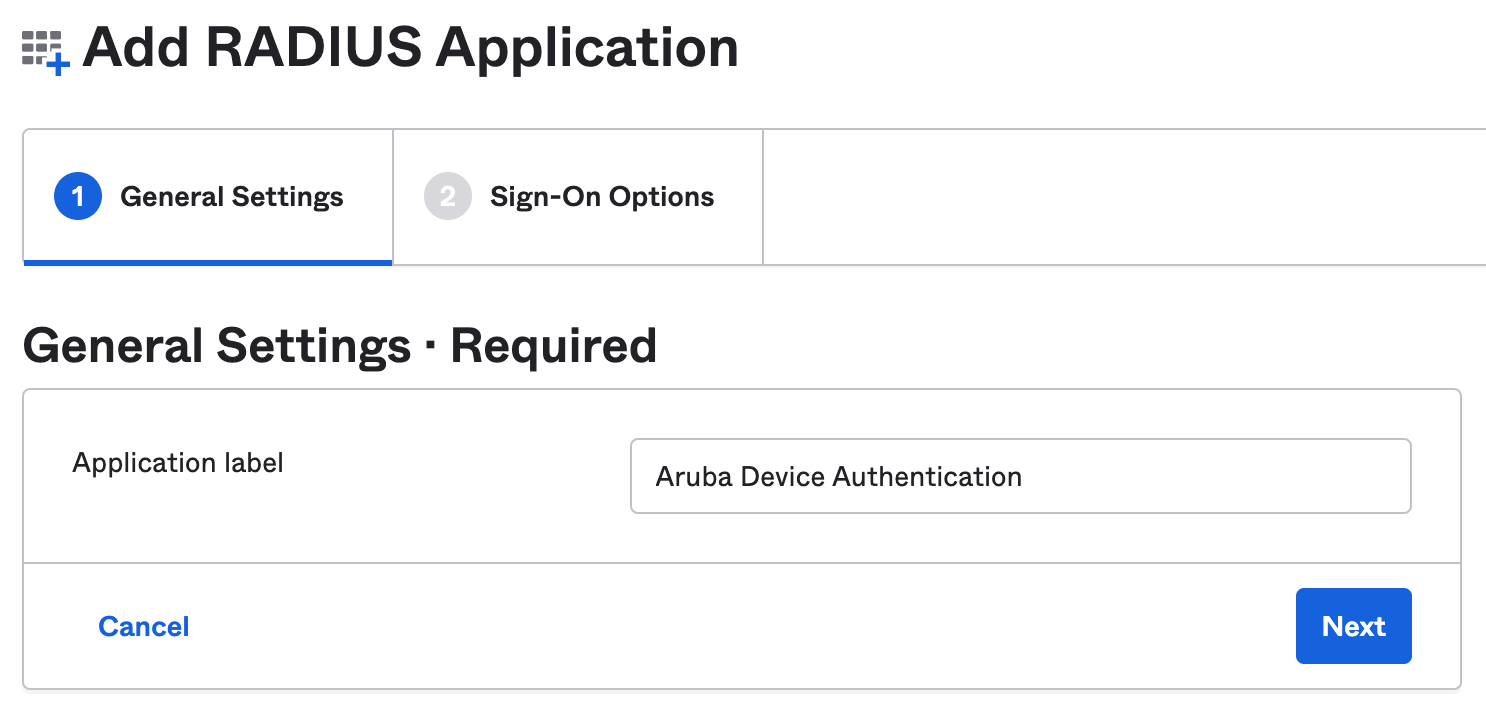
- Give the application a name and click Next
- Open the application, click Sign On and under Settings click Exit
- Set the radius port (default 1812)
- Set a shared secret, this will need to match what is set in ClearPass
- Click Save
- Under Advanced Radius Settings click Edit
- Under Authentication click the checkbox for “Accept password and security token in the same login request” and “Permit Automatic Push for Okta Verify Enrolled Users”
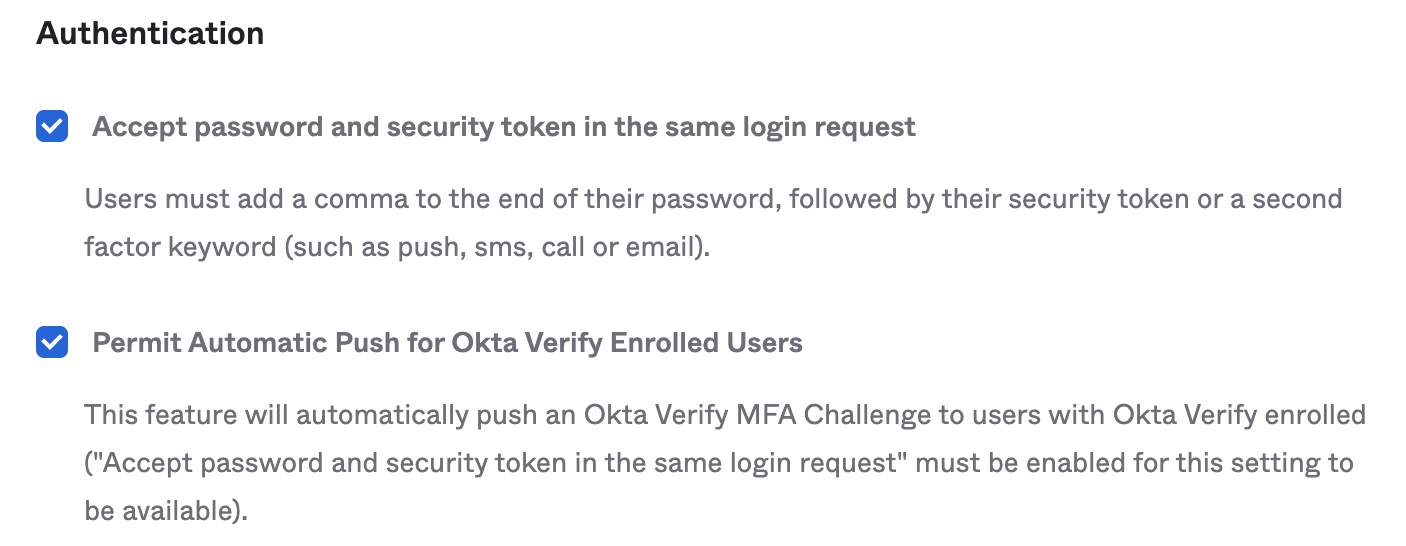
- Click Save
Step 3: Configure ClearPass (TACACS/Radius)
Management access requests from Aruba devices will be sent to ClearPass first then to Okta AuthN + MFA.
ClearPass TACACS Configuration:
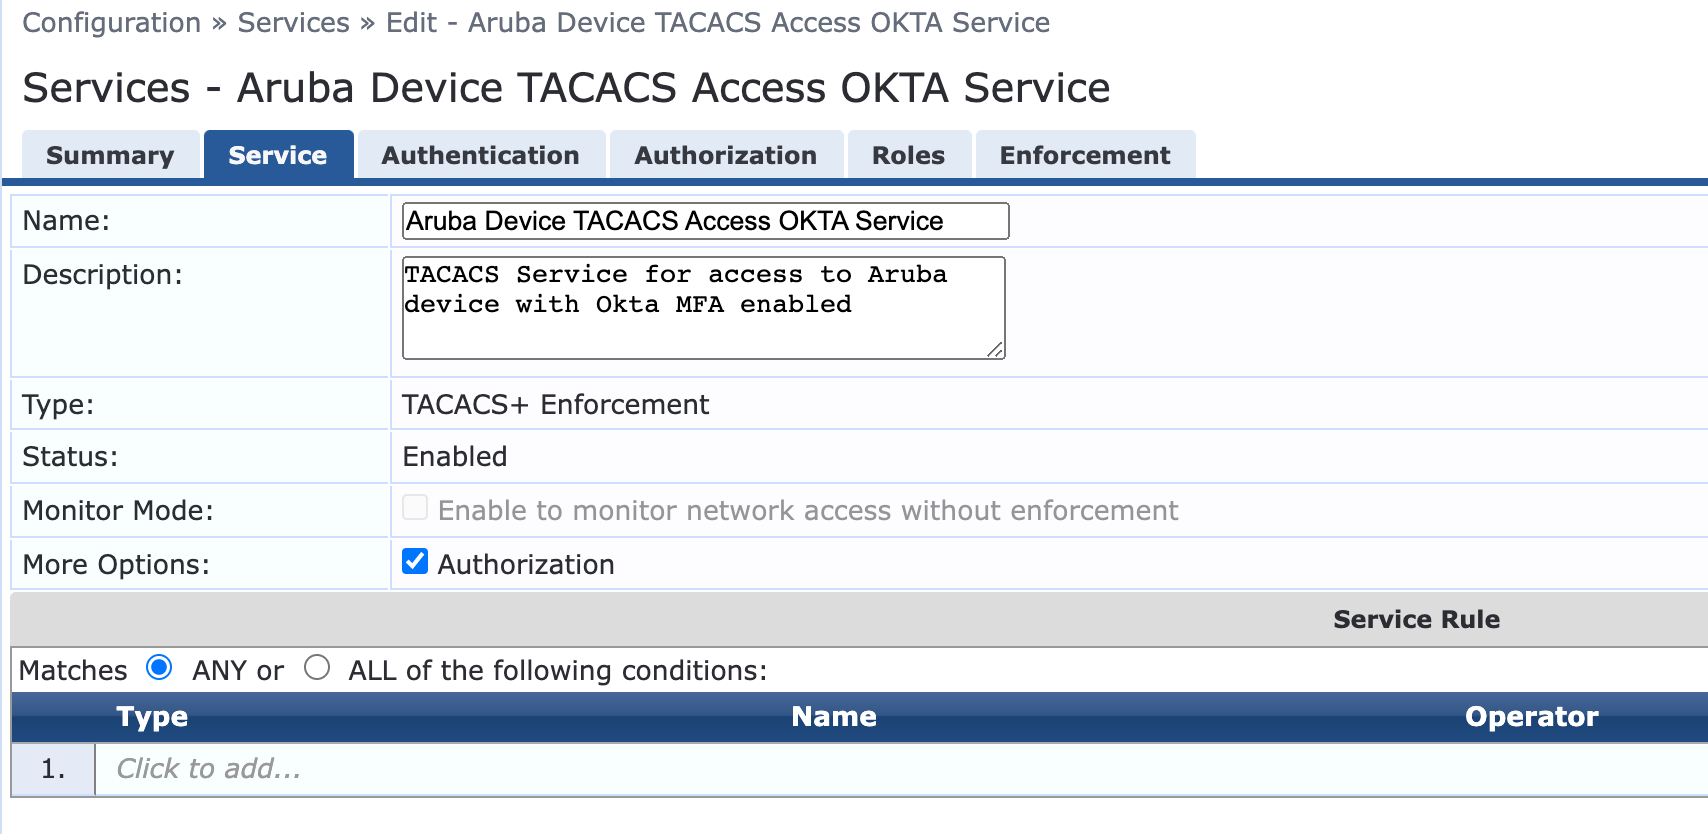
- Log into Aruba ClearPass, Click Configuration > Services > Add
- Name the Service
- Select Type: TACACS + Enforcement
- Optional enable checkbox of Authorization
- Then click Next
- Under Authentication click Add New Authentication Source
- Name the AuthN source
- Type is Token Server
- Optional add an Authorization source
- Click the Primary tab
- Enter the server name (or IP) of the Okta on-prem agent
- Set protocol Radius and match the Port and Secret to what you configured in the Okta Service (Step 1)
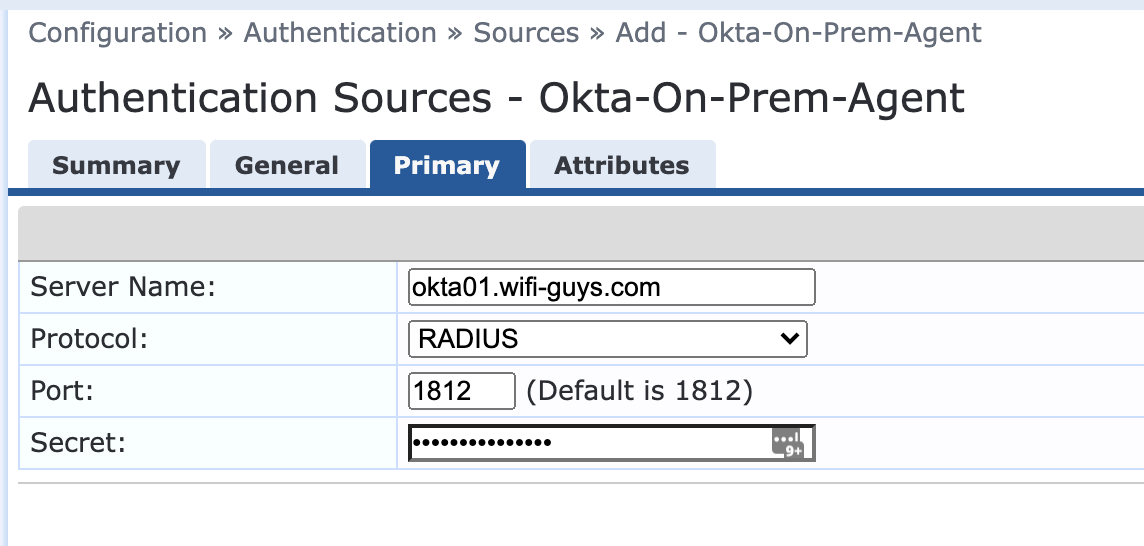
- Click Save
- Select the new Okta Authentication as the Source
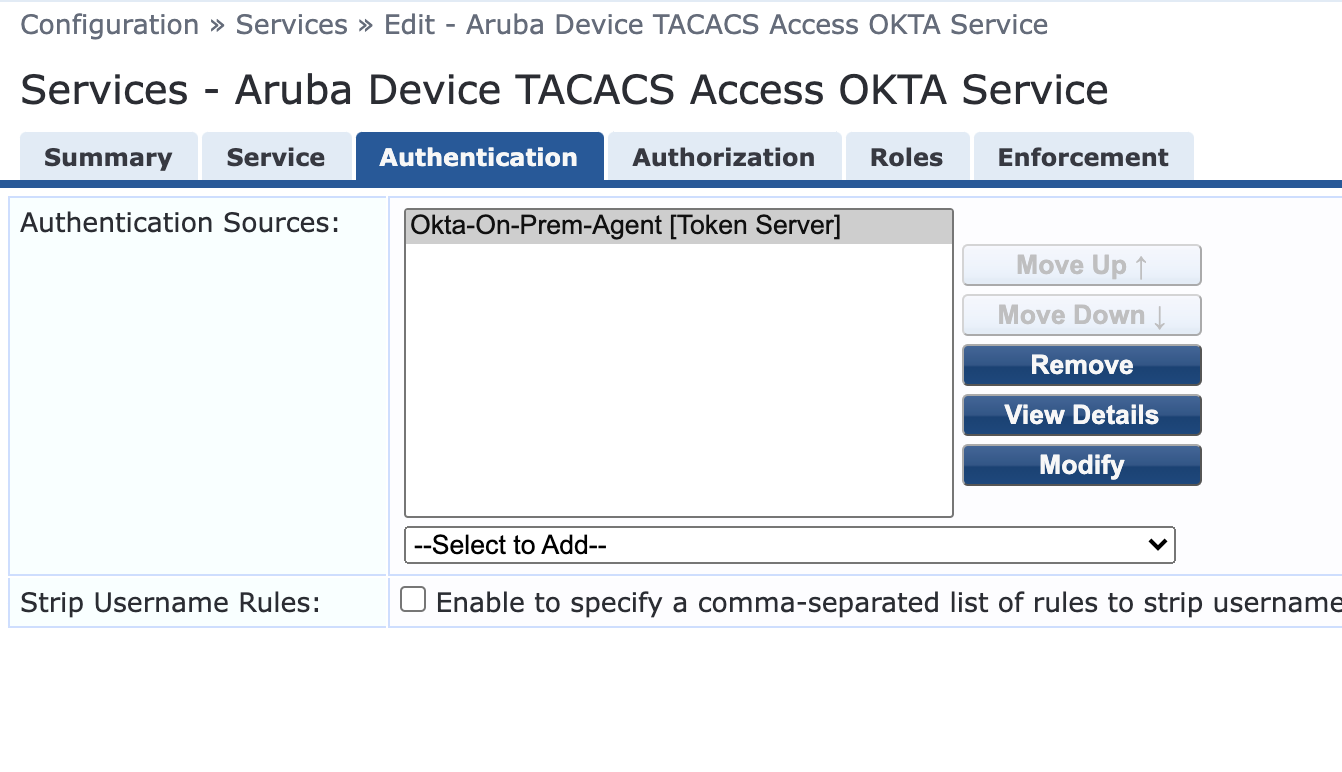
- Click Next
- Under Authorization – add any sources like AD/LDAP for which you may want to grab additional context about the user.
- Click Next
- Roles are optional but may be required for differentiated access like Read-Only vs Read-Write
- Click Next
- Under Enforcement Policy – Use an existing policy if defined or create a new one for role-based access
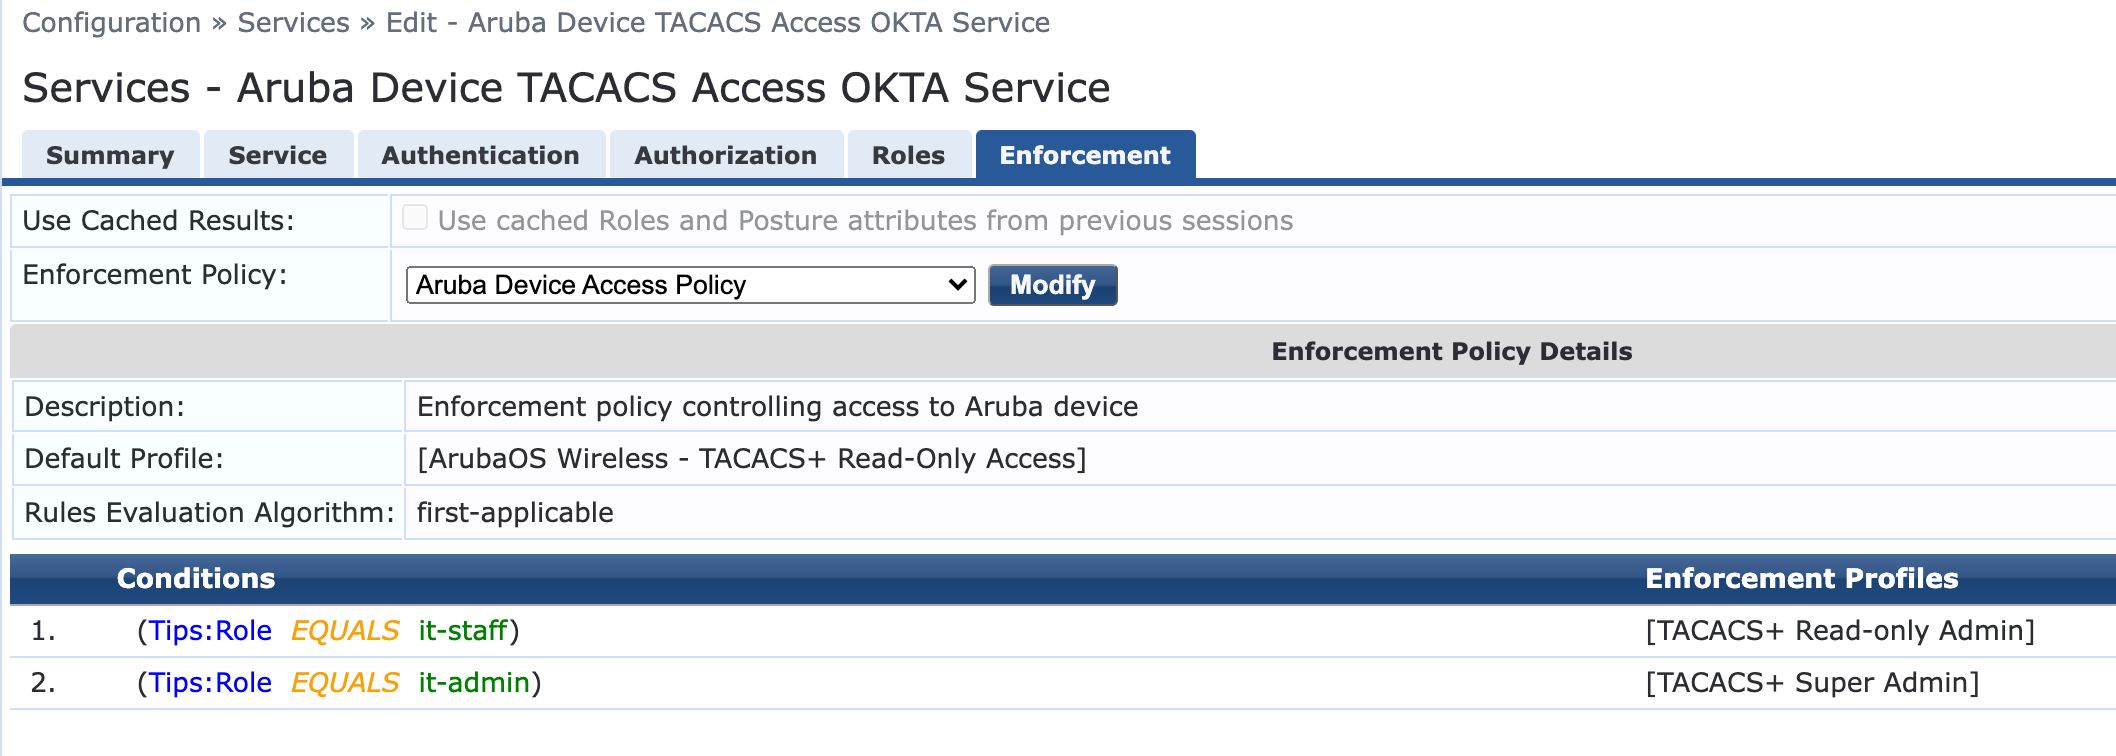
- Click Save
ClearPass Radius Configuration:
- Log into Aruba ClearPass, Click Configuration > Services > Add
- Name the Service
- Select Type: RADIUS Proxy
- Example rules as follows:
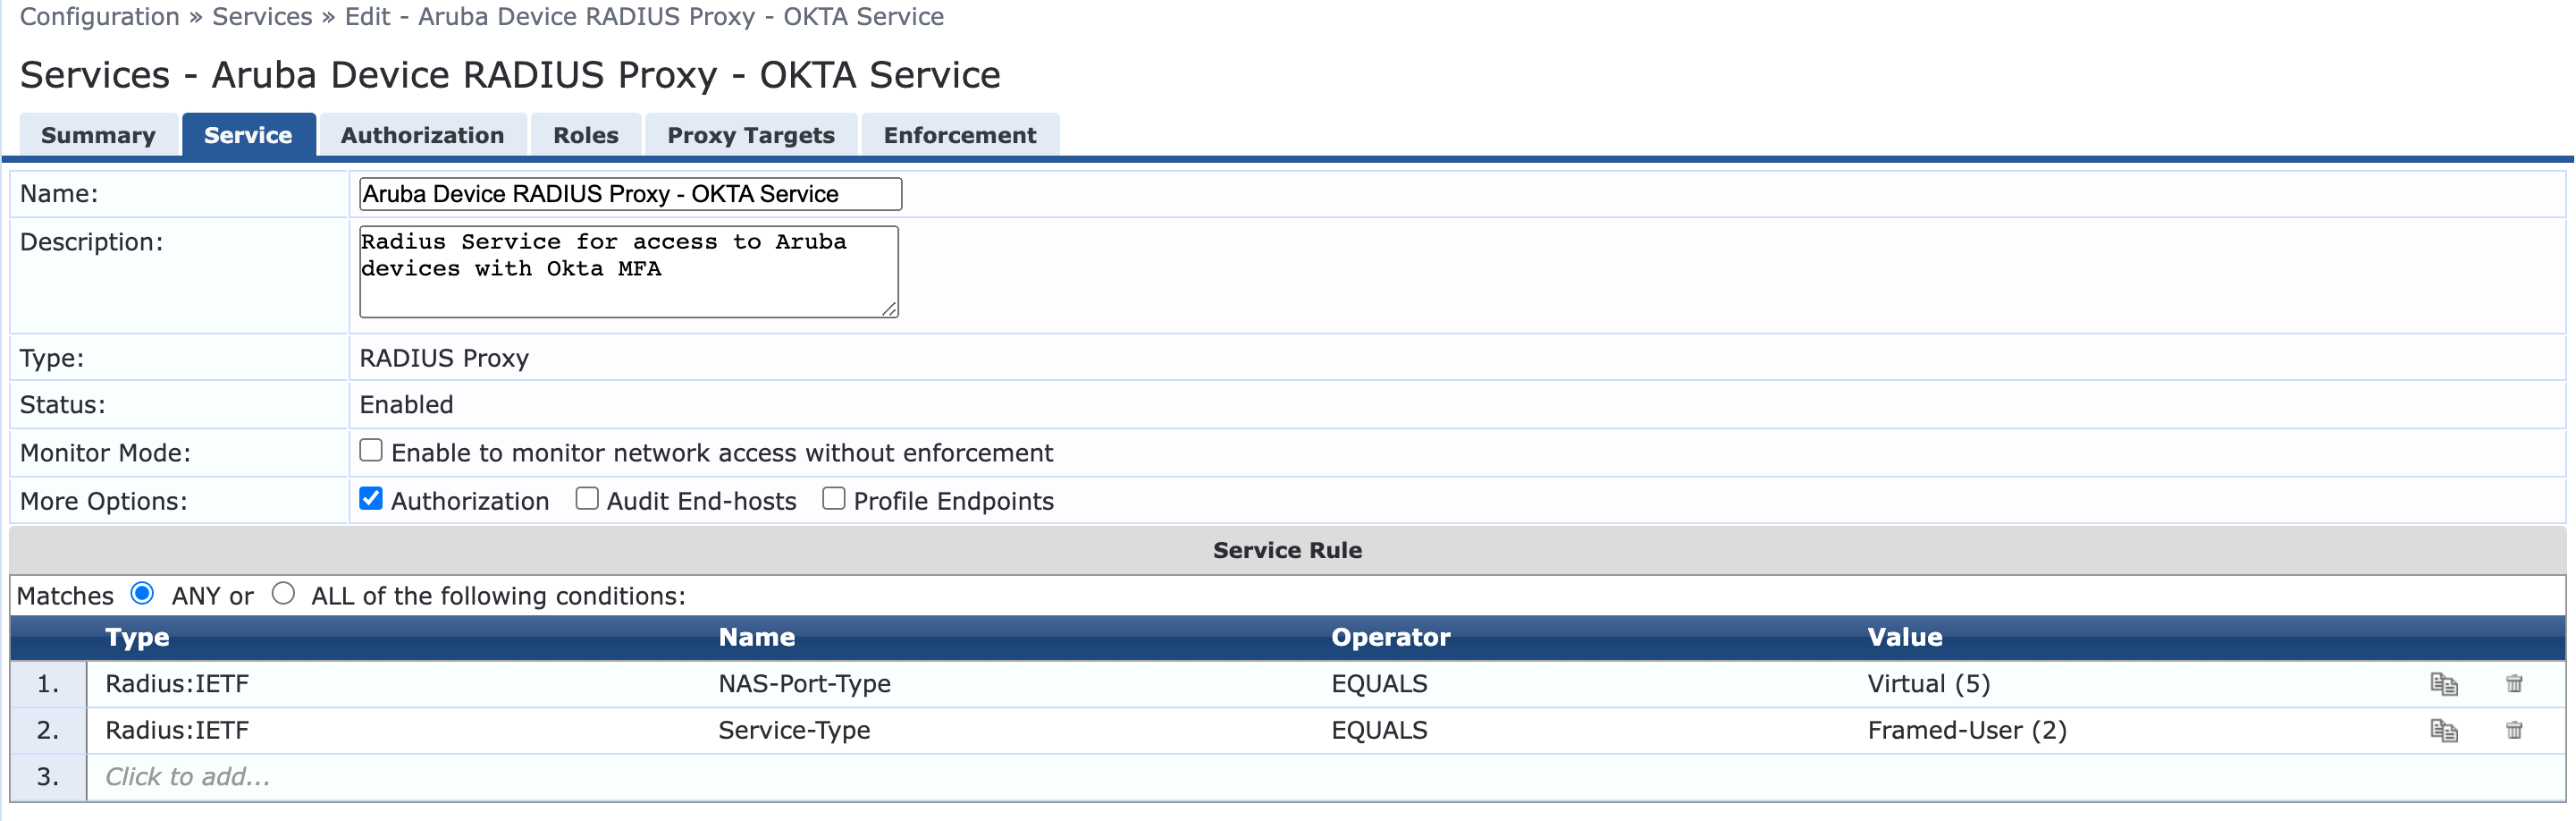
- Optional enable checkbox of Authorization
- Click Next
- Under Authorization – add additional source to pull context about the user (IE AD or LDAP) if required
- Click Next
- Roles are optional but may be required for differentiated access like Read-Only vs Read-Write
- Click Next
- Under Proxy Targets – Click Add New Proxy Target
- Enter Name, Hostname (or IP), Protocol Radius, and the shared secret and port as defined in Step 1.
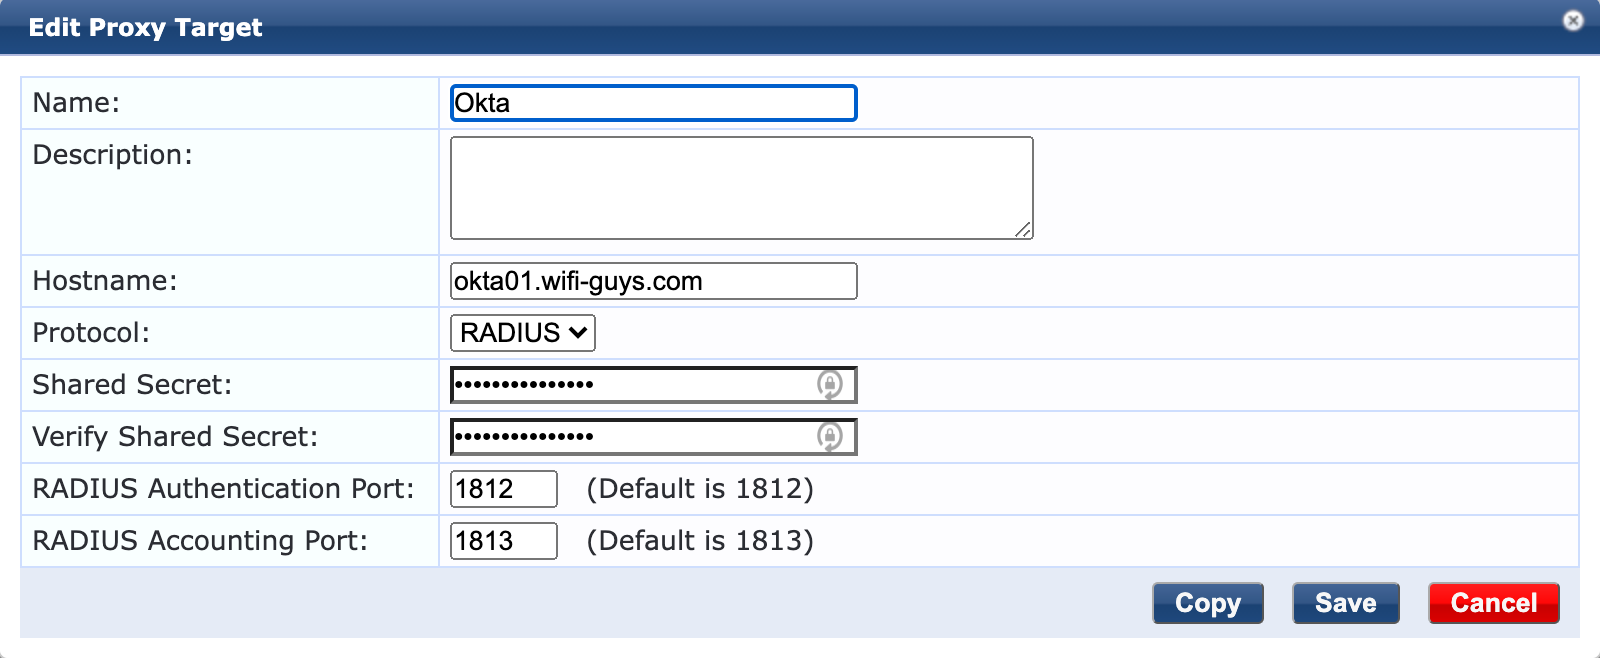
- Click Save
- Verify Okta is set as the Proxy Target list
- Click Next
- Under Enforcement Policy – Use an existing policy if defined or create a new one for role-based access
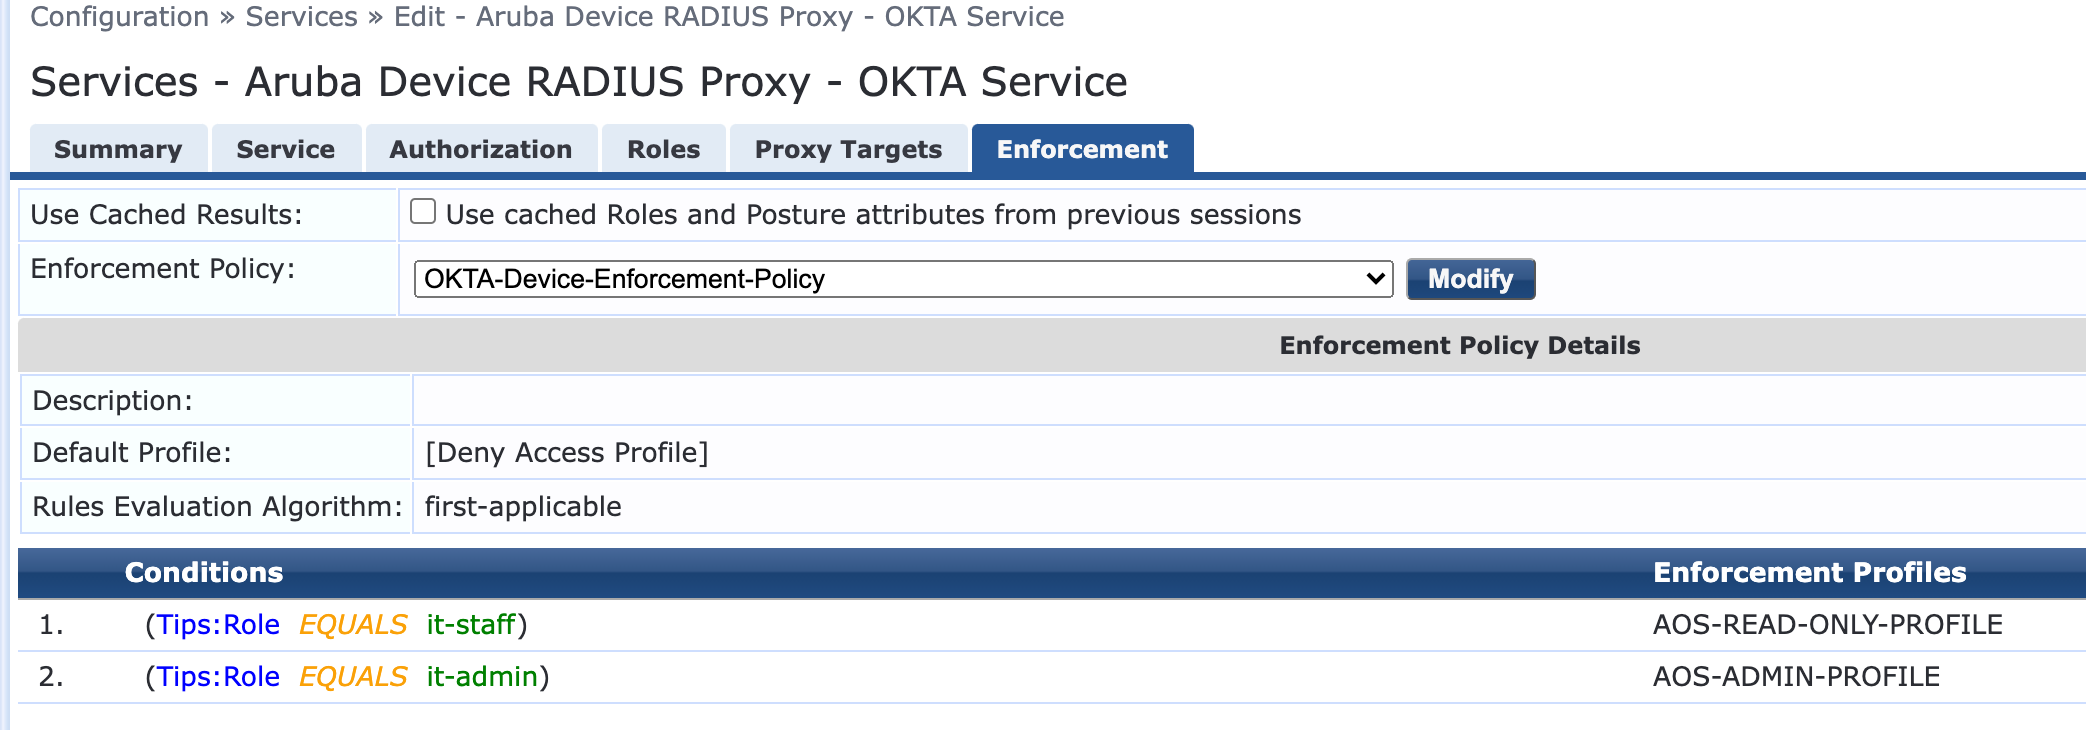
- Click Save
Step 4: Configure AOS Authentication Profile
- Log into Aruba Mobility Conductor
- Under Configuration > Authentication > Auth Servers > All Servers > Click the + Sign
- Give the Server a name, Type RADIUS, and IP/Hostname of ClearPass
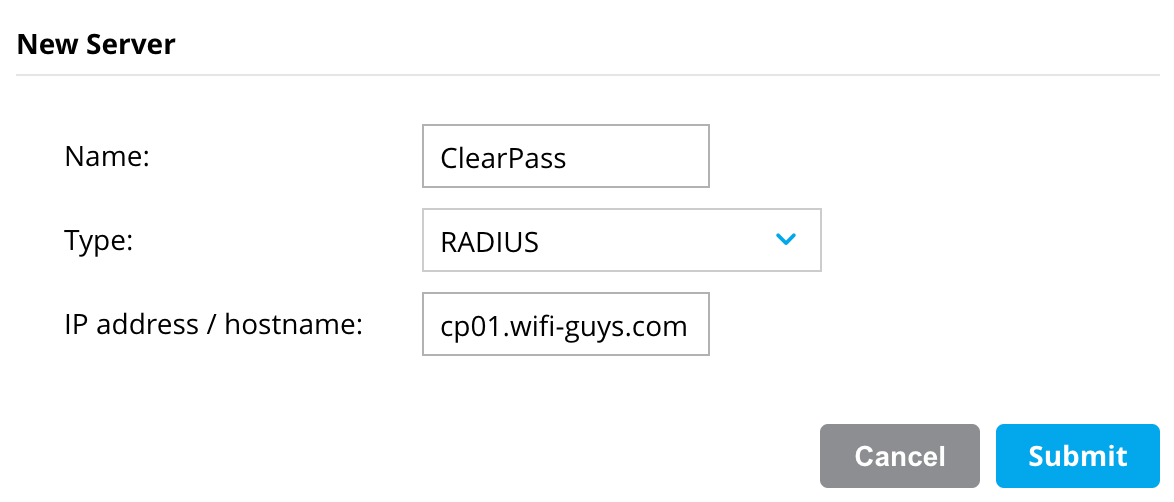
- Click Submit
- Then Click the name of server to expand the options
- Add the shared secret same (same is in ClearPass)

- Click Submit
- Then click the + sign under Server Groups
- Add a name and click submit, then click on the name to expand the list
- Click the + sign and add the ClearPass server you just created
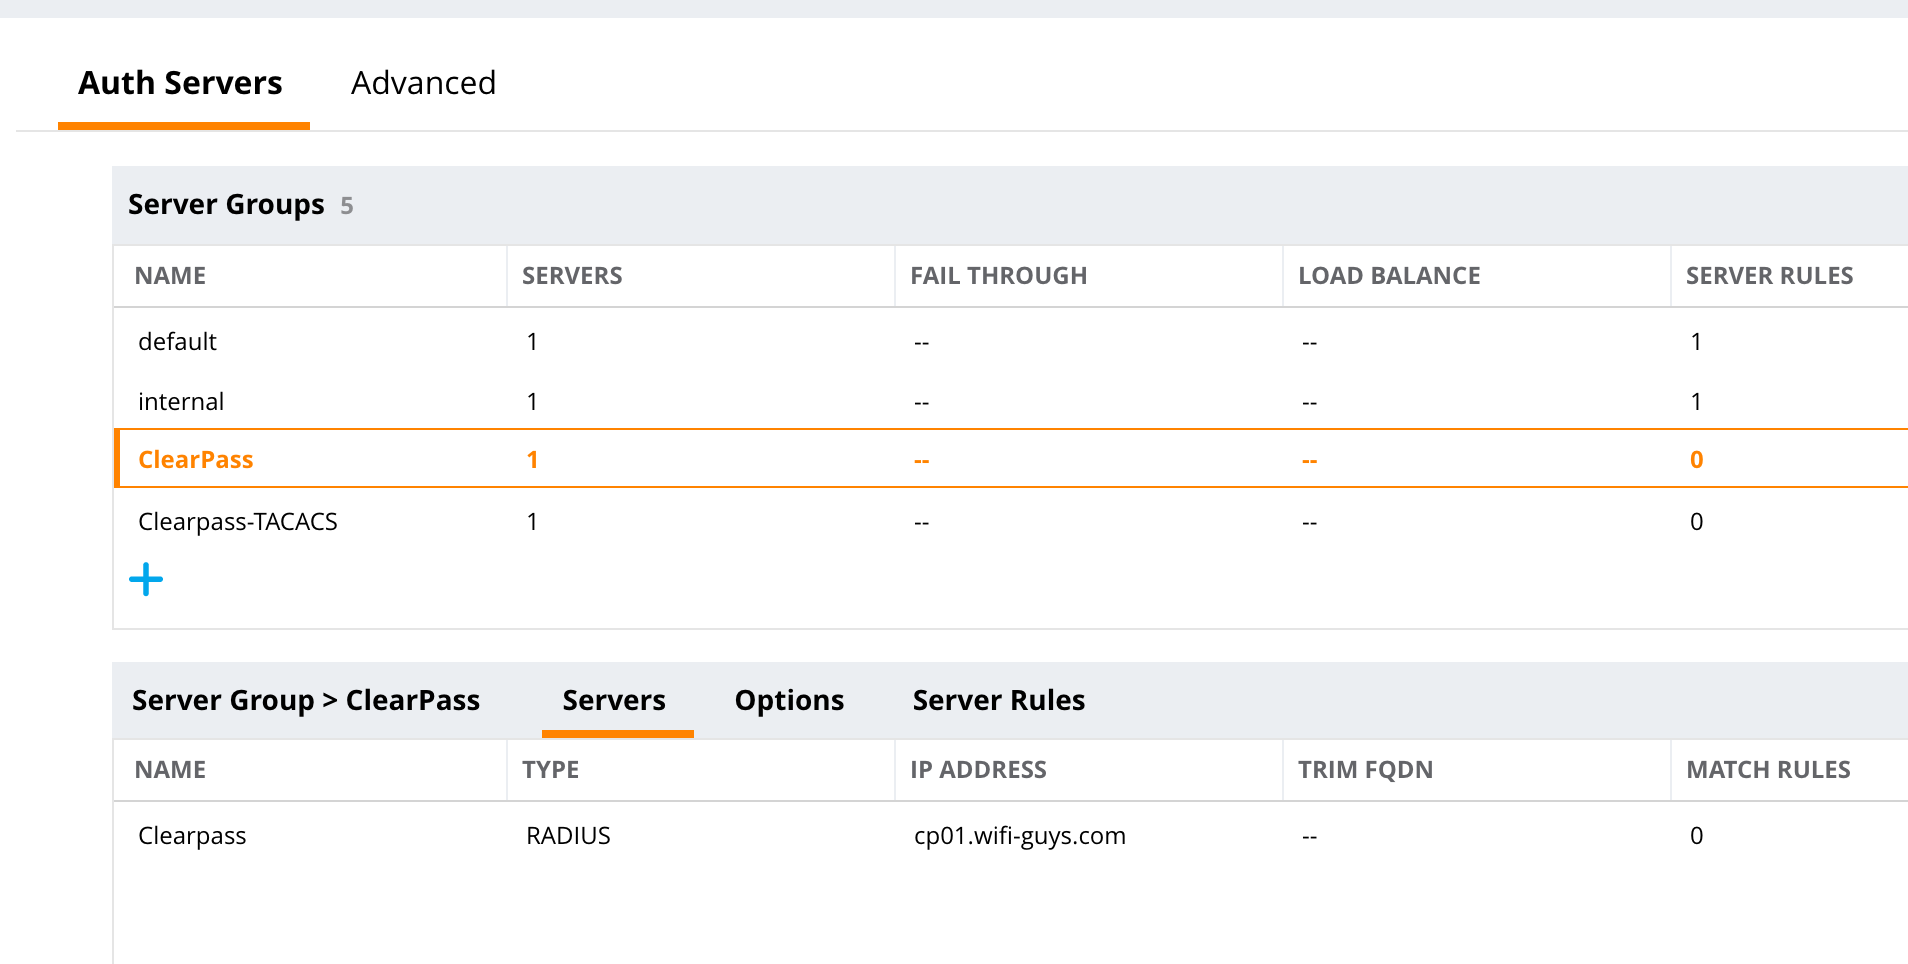
- Click Submit and push the pending changes
- Under Configuration > System > Admin > Admin Authentication Options
- Change the server group to ClearPass (or what was configured in the previous step)
- Click Submit and push the pending changes
Step 5: (Optional) Enable MFA
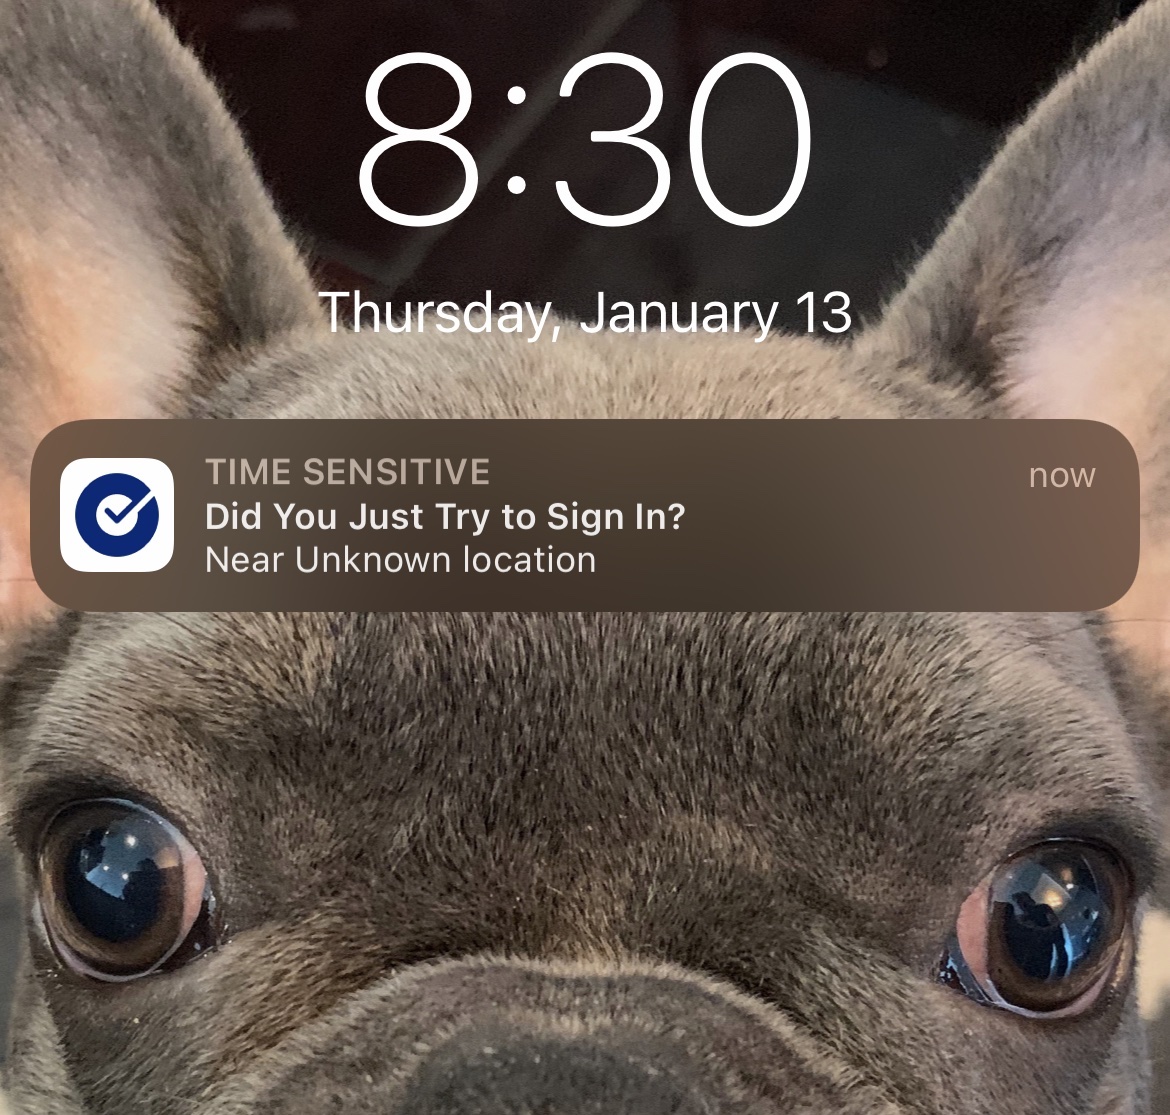
This step will enable MFA support for VIA. Once the user initiates the VIA connection, Okta will trigger an MFA push notification. Upon the user successfully clicking accept, the VIA connection will establish.
- From the Oka portal select the Aruba VIA application
- Under Sign On Policy – click Add Rule
- Give the rule a name (MFA Always as an example)

- Change the Action access to Always and verify prompt for factor is checked
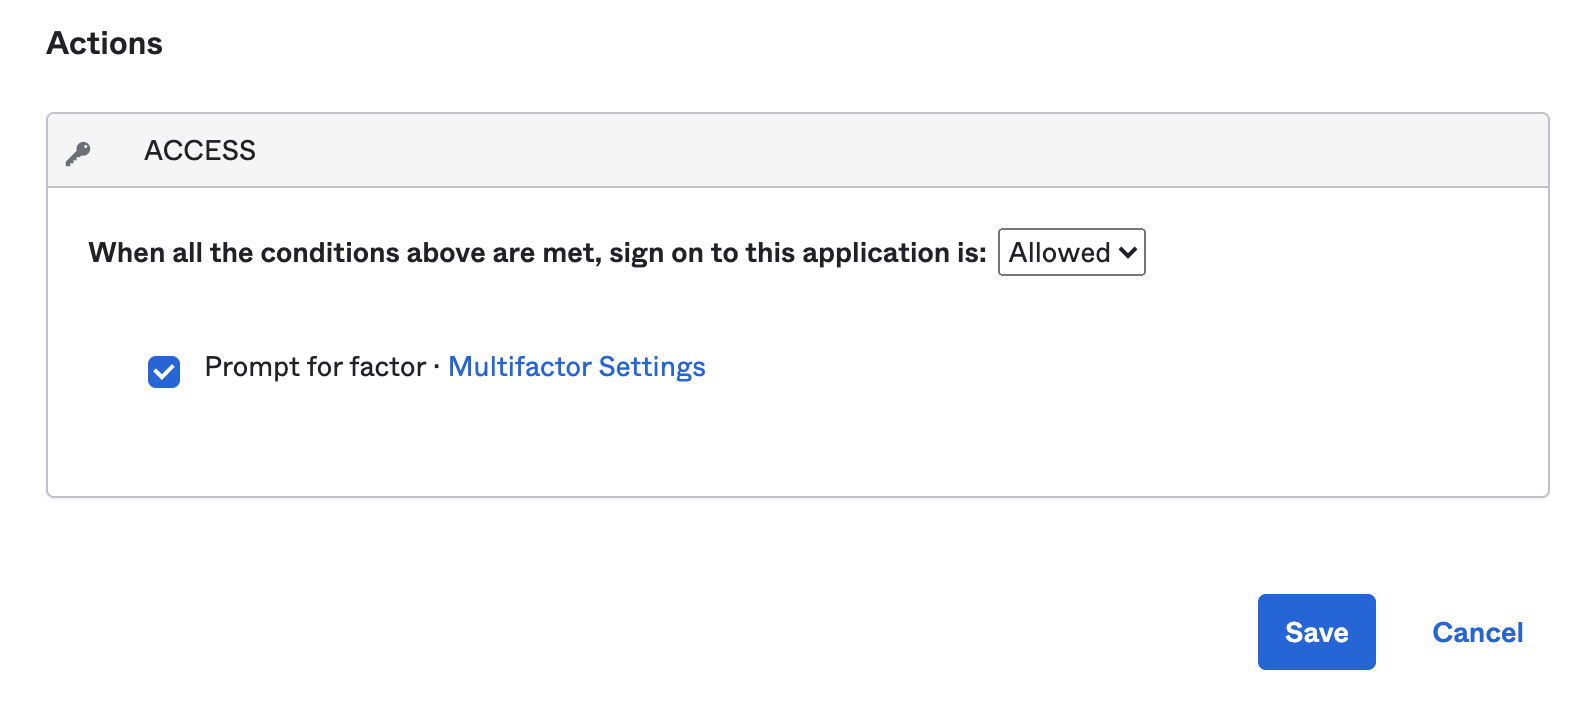
- Click Save
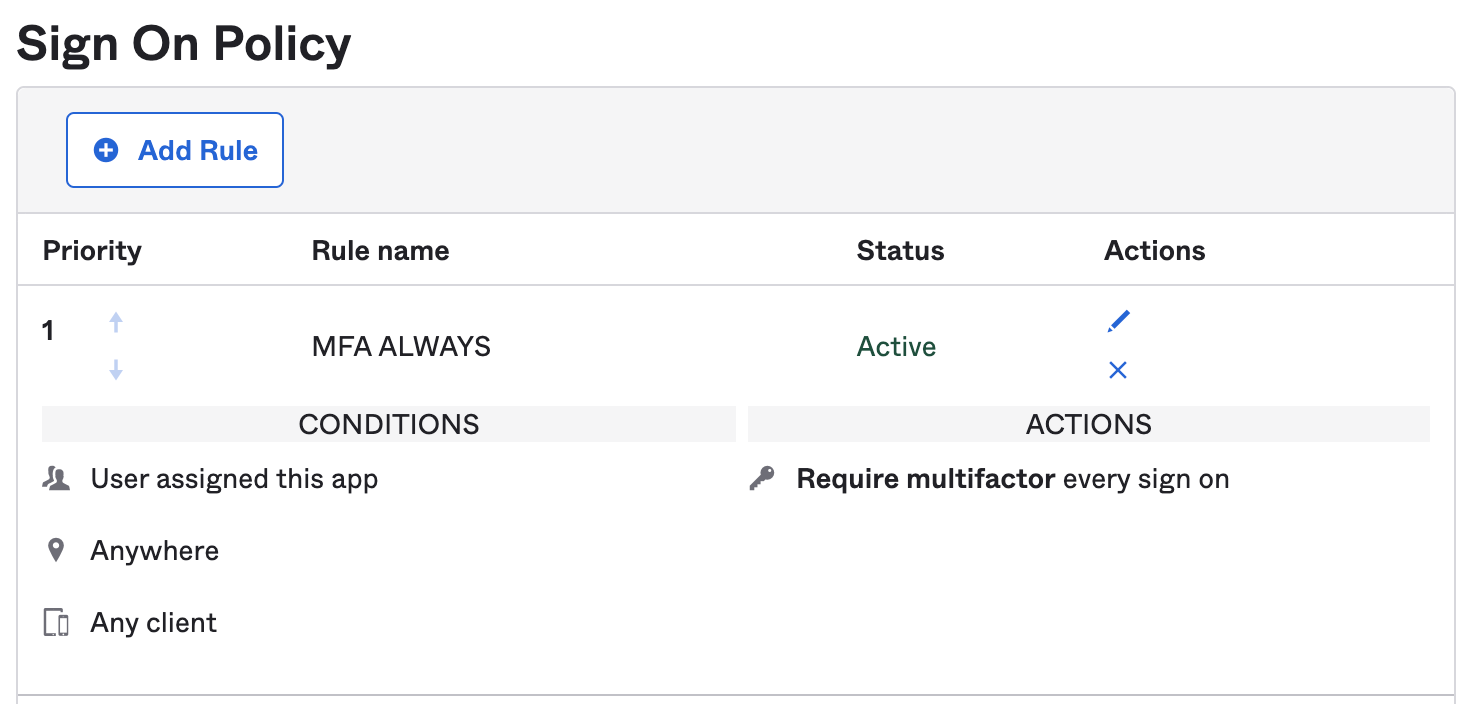
- Verify the MFA policy is in the correct order and enabled
Test OKTA + MFA Management Access
- Log out of the Mobility Conductor or open a new private browser window
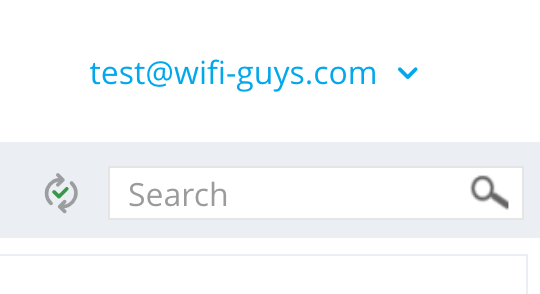
- Access the Mobility Conductor login page and enter the user Credentials
-This AuthN request will be sent to ClearPass then to Okta. Depending on where your user database lives, this could be AD/LDAP creds or Okta managed. This will depend on how the Okta service is configured.

 |
 |
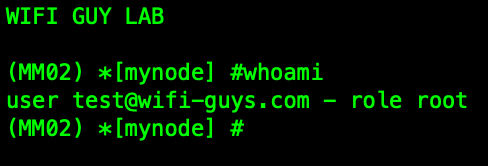
- SSH to the Mobility Conductor or Managed Device and enter the user credentials
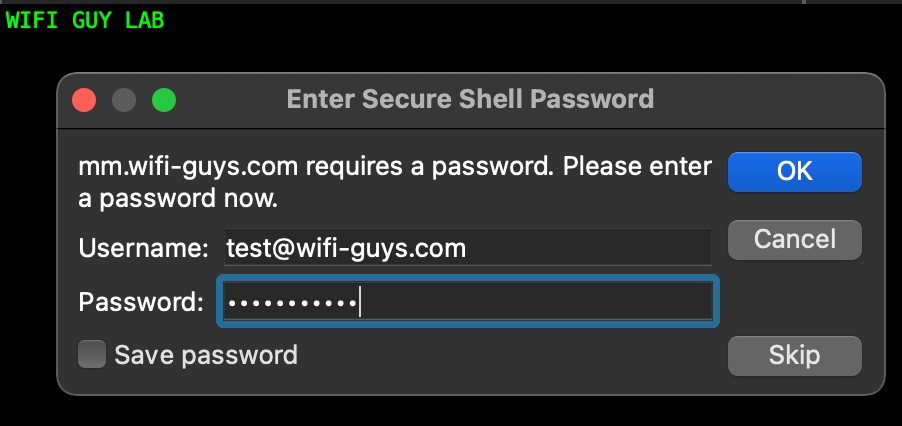
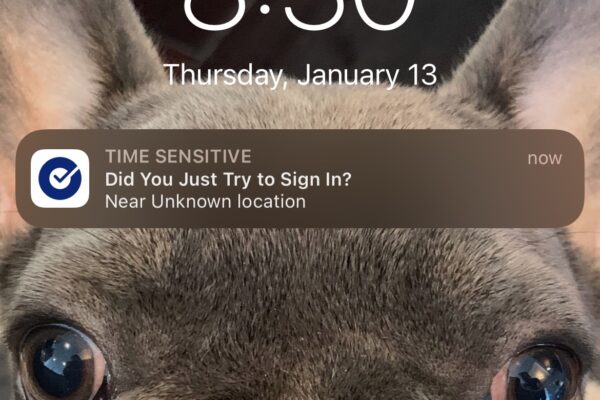
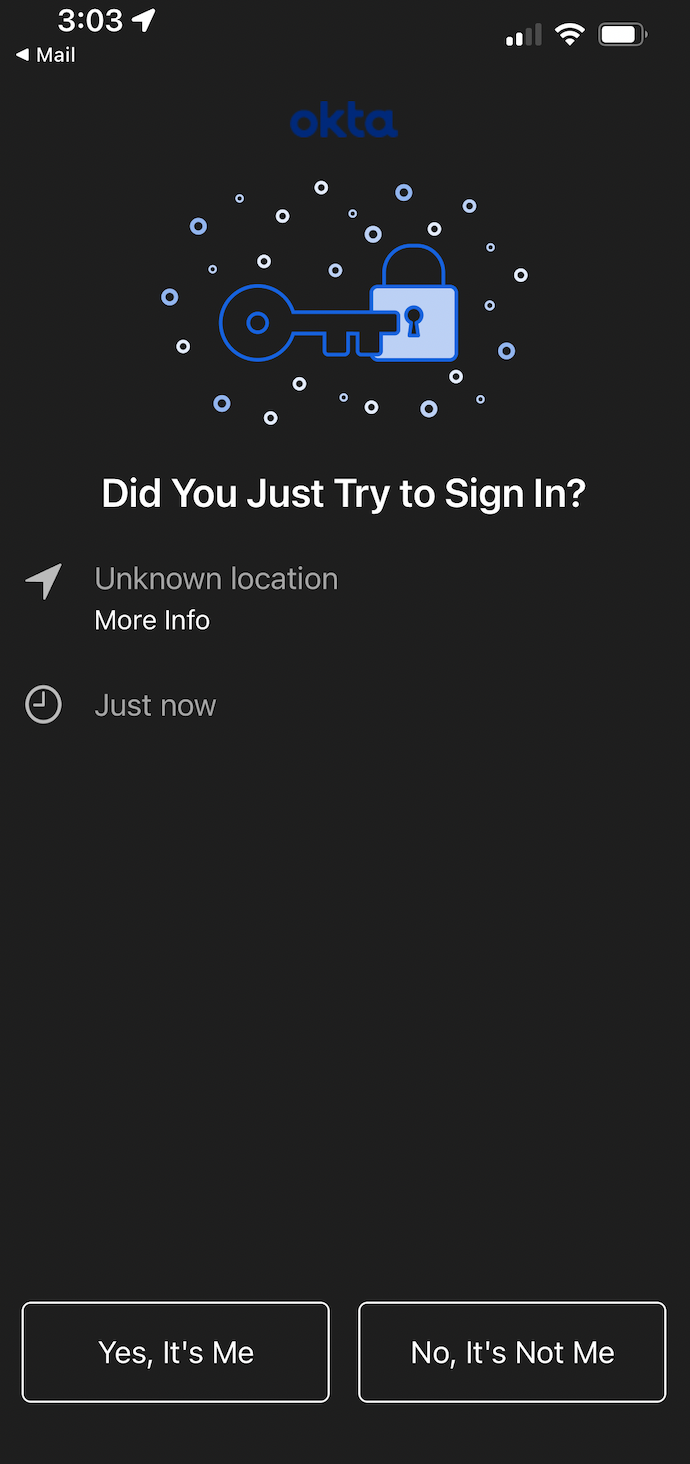
- Okta MFA push will happen on the device. After you click “Yes it was me” you will be logged in.
- Verify the proper role was assigned to the user
Testing and Troubleshooting:
TIP: Be sure to enroll your device in MFA prior to testing. There is no workflow that support adding the device at the time of first authentication. It must be done prior to testing.
If push notification fails but client still connects – verify MFA policy is enabled under the VIA application Sign On settings in Okta
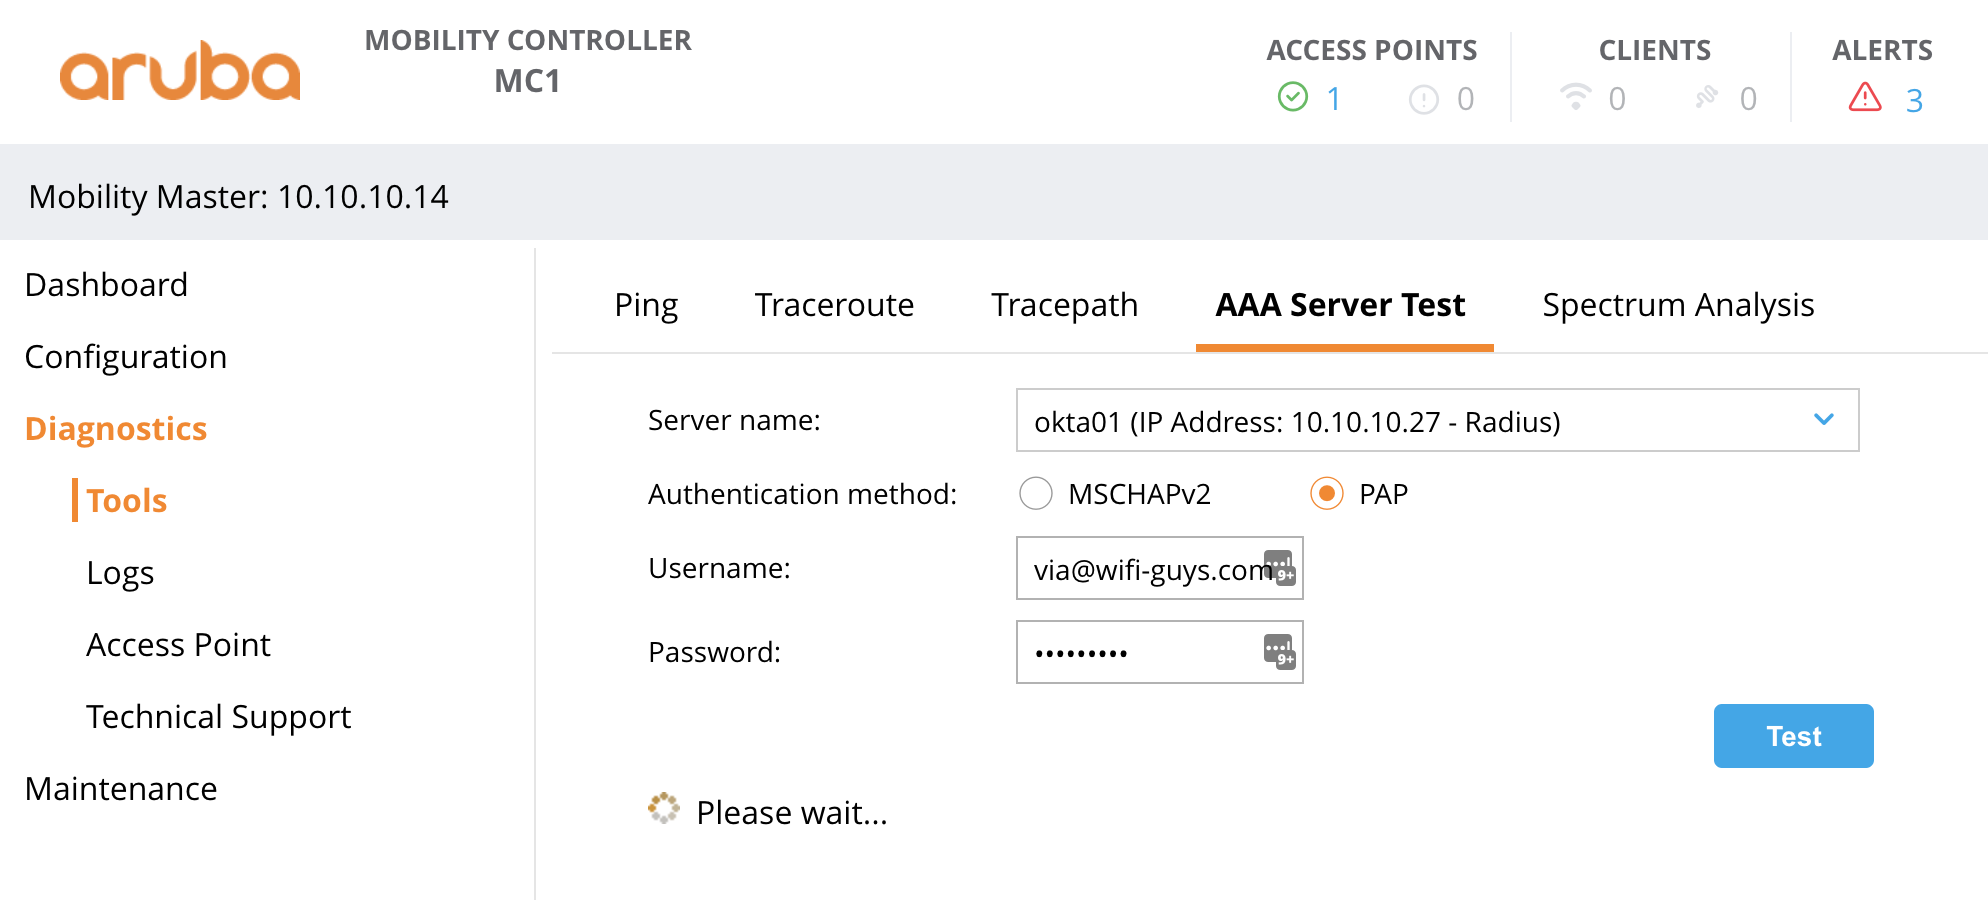
If the credentials are valid but the client fails to connect – verify the gateway has connection to the Okta radius service. For AOS8 the AAA Test Server can be used to verify connection. From the gateway select Diagnostics > AAA Test Server, select Okta, auth method PAP and enter the username / password.
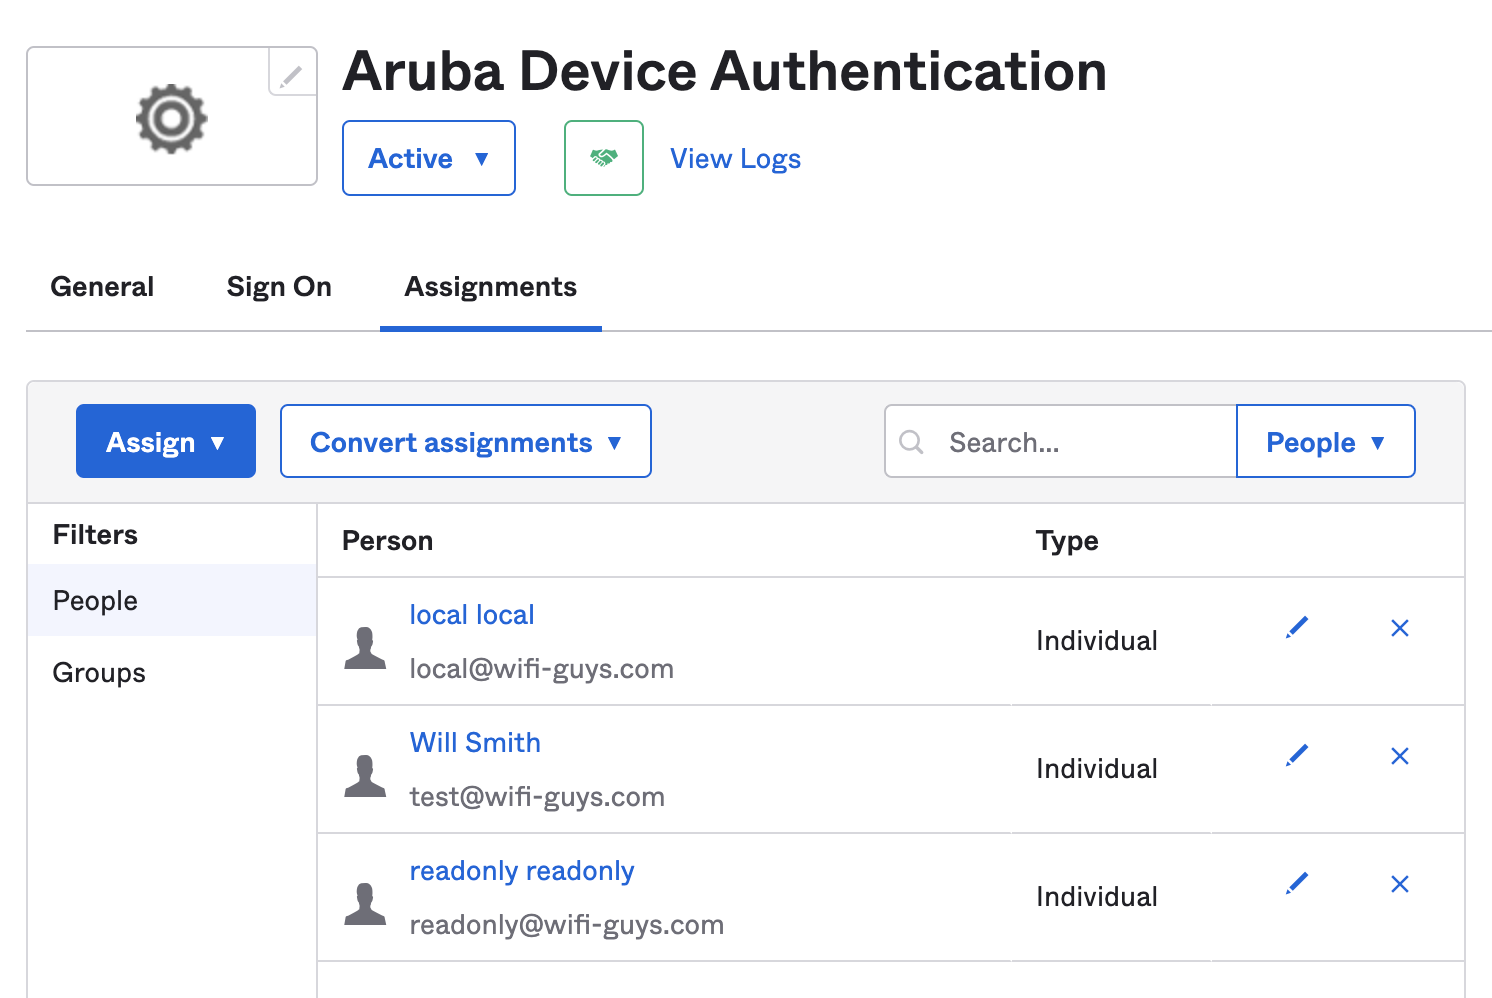
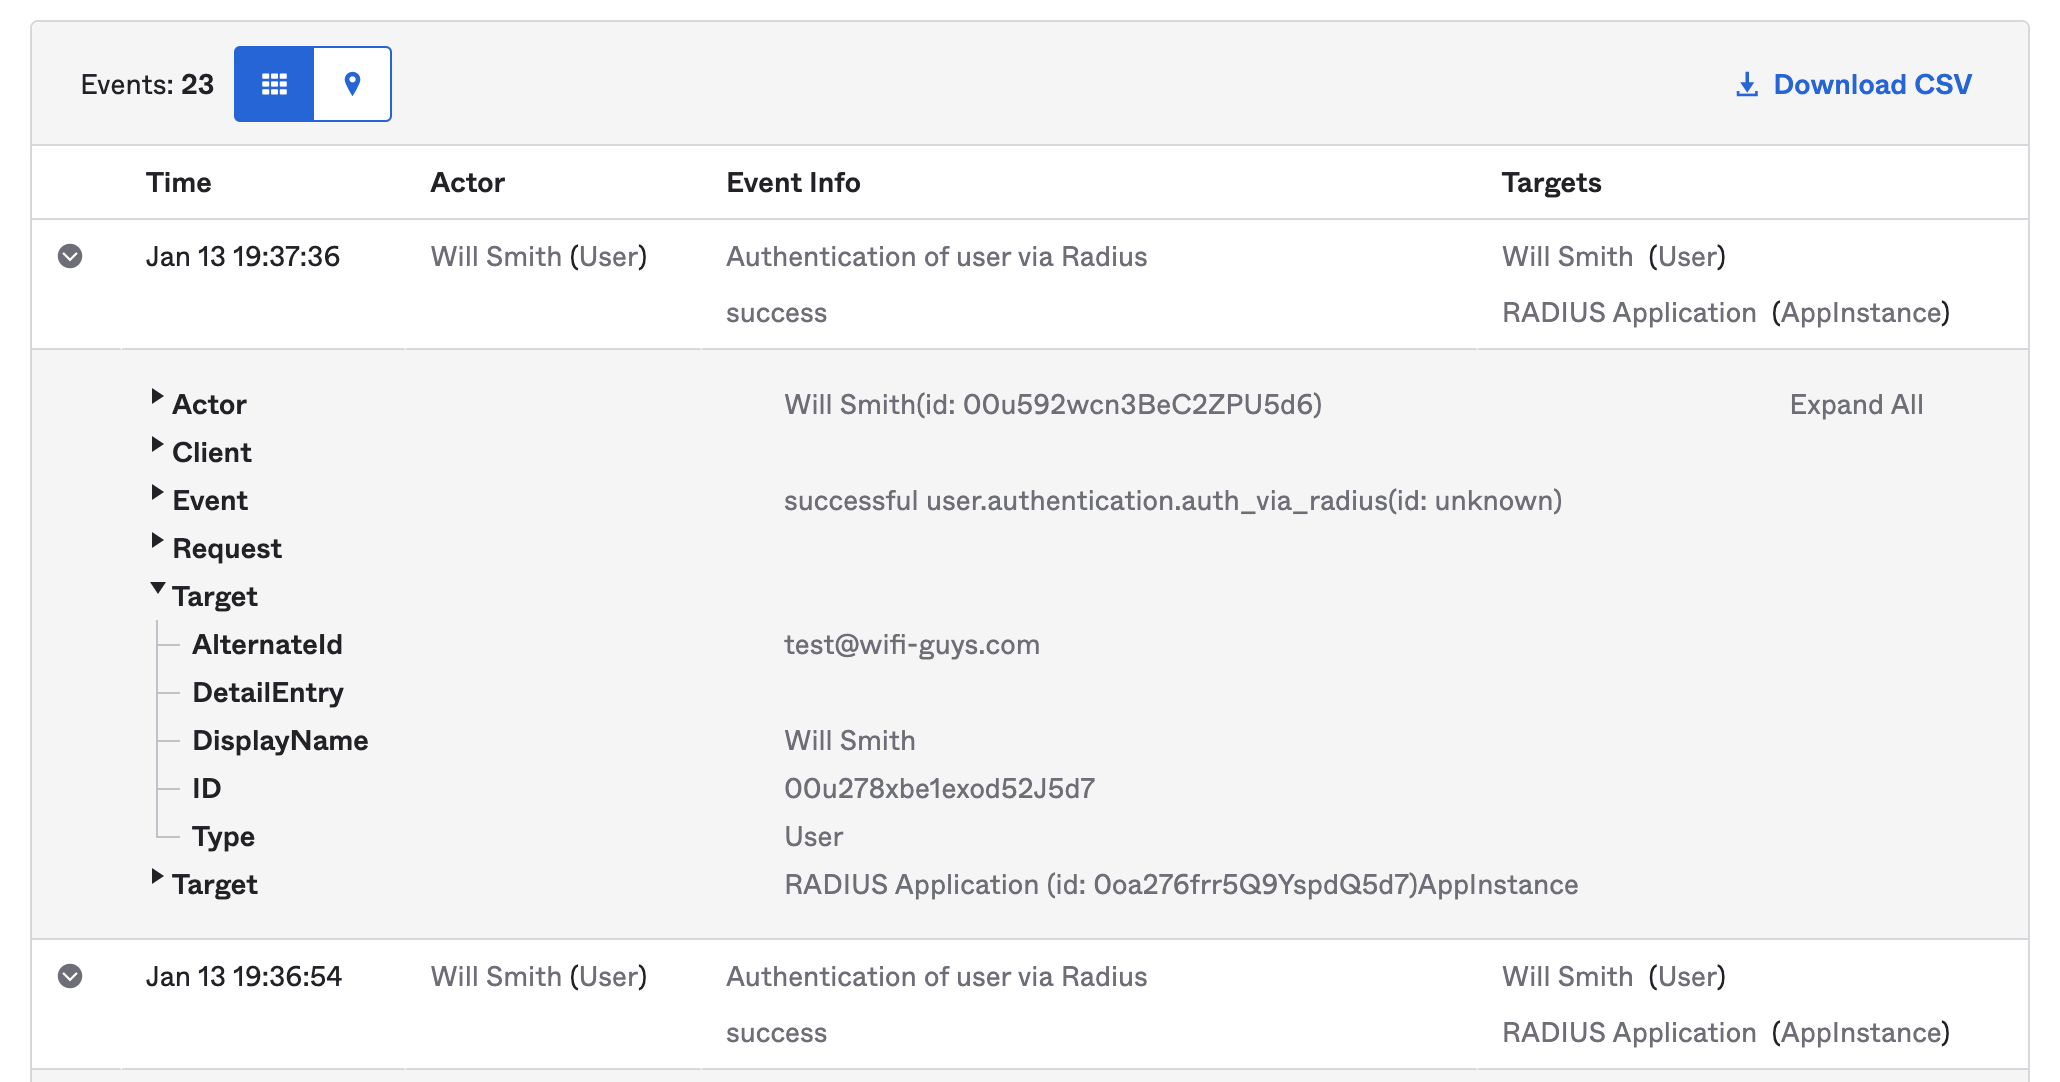
If authentication fails, check the Okta application logs. Log into Okta and under the application, click view logs.
Verify the event was seen by Okta and the reason for the failure.
TIP: Make sure the proper group or the individual user is assigned to the VIA application in Okta. If not the authentication will fail.